Natural Stone – 4″ Full Veneer
Establish a Solid Footing
Whether you are veneering a garden wall or a cinder block foundation on a building, it is important that the veneer rest on a solid footing. If the structure’s existing footing extends at least 4″ beyond the wall’s face, you can simply flash the footing and lay the veneer over the existing footing. If not, you can either extend the existing footing to support the veneer or bold a steel angle iron to the wall at ground level and lay the veneer on the angle iron.
If you elect to extend the footing, check with your local building authorities to obtain specifications for making the footing extension and tying it to the existing footing.
Preparing the Wall Surface
Unsealed Masonry: Stone veneer can be installed directly over cleaned, unsealed masonry walls using wall ties fastened to the existing structure. Fasten the wall ties with masonry nails or masonry screws. Install one wall tie for each square foot of wall surface to be covered.
Wood: Nail double D paper to the wood to create a vapor barrier. Then apply one wall tie every square foot.
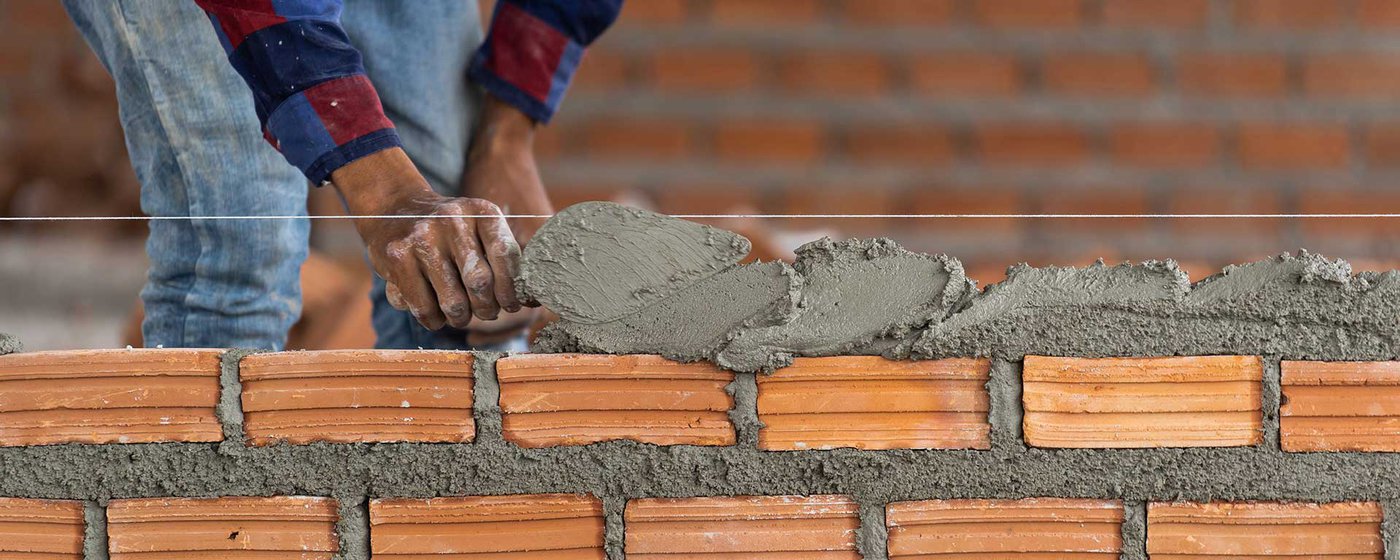
The scratch coat of mortar provides a good masonry surface for laying the stone.
Laying the Stone
- In a wheelbarrow or mud box, mix a bag of mortar to roughly the consistency of mashed potatoes.
- Starting at one end of the wall, working side to side and vertically, put down 1/2″ – 1″ of mortar as the base for the stone. As you set the pieces of the stone try to keep them all level. Put approximately the same amount of mortar between each piece to keep the joints even. As you stack the pieces of stone, leave a small space between the stone and the wall; this allows for any moisture in the wall to drain easily.
- Apply a thin coat (1/4″ to 1/2″ thick) of mortar to the entire wall. Let this base coat dry for 12-24 hours. After 12-24 hours, come back to begin laying the stone.
- Note that as you lay large stones, it may be necessary to place smaller stones in gaps and along uneven edges to fill in the wall. It may also be necessary to use the brick chisel to cut stones at the ends of the wall. Selecting good stones for the edges before you start on the wall reduces the need for chiseling and makes your work look more natural.
- Apply the next courses in the same manner as the first. Be sure to interlock each course so that the joints are staggered from course to course.
- If you are veneering the foundation of a structure, flash the top course to keep water from getting behind the stone. If you are veneering a garden wall, stop slightly short of or even with the top of the wall. Cap the wall with stone laid horizontally across its top, or a natural cutstone wall cap.
- If you are only partially veneering the front of a house or other structure you will want to install a sill plate. Install the sill plate above the stone at an angle sloping away from the house to prevent water from getting behind the stone. Also install flashing above the sill plate to help direct the water.
- Once the mortar has hardened some, but not completely set, use a jointer or the point of your trowel to dress the joints.
- Clean any mortar from the face of the stones with a stiff-bristled brush. Do not allow mortar to set on the face of the stone.