Installation for Mortar-Set Patio Stone
Before You start:
Verify that rough grading is per plan and that paving will not be set on any uncompacted fill.
Before setting final elevations, verify that walk and surrounding areas have adequate slopes and
swales to provide drainage and proper runoff of surface water. If wall is to be laid on soil base,
remove any loose soil and debris. If walk is to be laid on a concrete slab base, clean surface of
any debris.
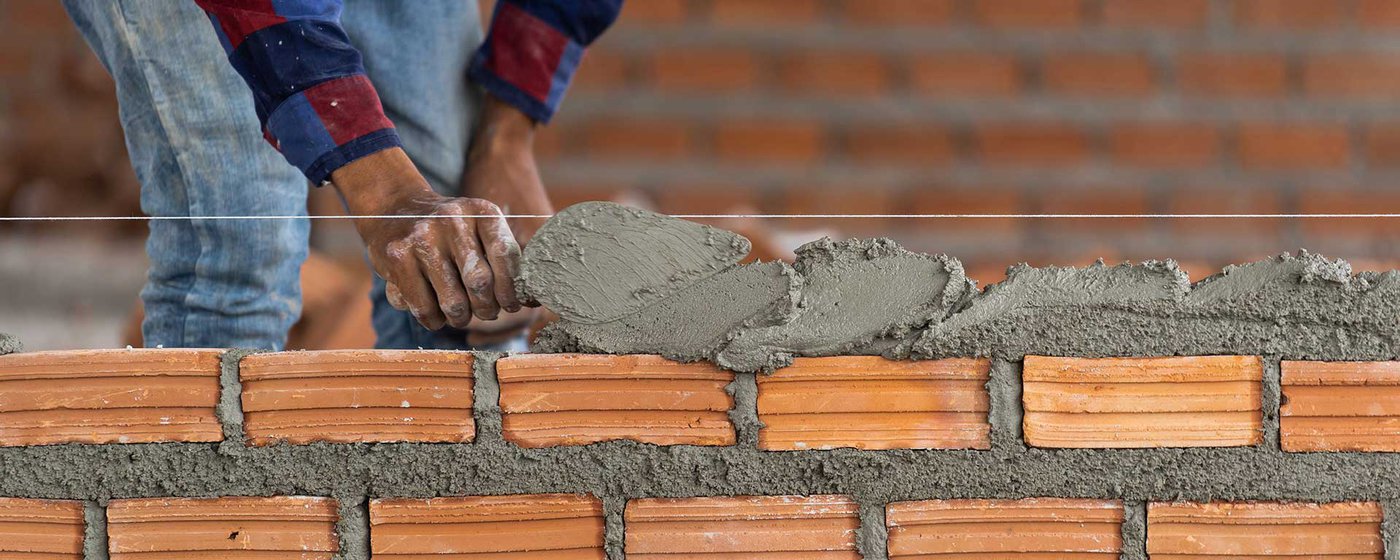
Exterior Mortared Installation
Preparing the Base
- Sub-base shall be compacted soil.
- Provide a 4″ concrete slab with reinforcement 1/2″ steel rods or 6″x6″ wire mesh.
- Screed and bull-float leave rough.
- Construction per standard concrete sidewalk installation practice, including expansion joint placement.
- Allow concrete to dry–next day application for stone.
Laying the Stone
- Moisten concrete slightly, before laying stone–this helps bonding. Leave pallets wrapped so that moisture is retained in stone–if stone is dry, moisten to damp–not wet.
- Spread 1/2″ mortar on concrete slab, check that material is level.
- Stone shall be laid in specified pattern with 3/8″ mortar joint.
- Color range should be uniformly distributed over total area of work.
Joints
- Use a grout bag or hand tool to fill mortar between joints–pack joints. Make sure to keep the surface of the stone clean of mortar.
- Tuck-point joints when ‘thumb print hard’ and brush smooth with flexible paint brush. Flush cut joints are not tooled and recommended for outdoor application.
Cleaning/Sealing
When joints have hardened for 24 hours, clean stone with stiff brush and clean water only.
Indoor Mortared Installation
Preparing the Base
- Sweep floor.
- Apply 15# felt paper with staples for moisture barrier.
- Staple or nail Diamond Mesh Wire.
Laying the Stone
- Stone shall be laid in specified pattern with 3/8″ mortar joint.
- Color range should be uniformly distributed over total area of work.
- Make sure stone is level throughout and keep mortar off stone surface.
Joints
Tuck-point joints when ‘thumb print hard’ and brush smooth with flexible paint brush. Flush cut joints are not tooled and recommended for outdoor application.
Cleaning/Sealing
- When joints have hardened for 24 hours, clean stone with stiff brush and clean water only.
- Apply stone sealant. (Some sealers provide a gloss to the surface, or change the color–test the stone first, prior to application.)
Exterior Dry Laid Installation
Preparing the Base
- Sub-base shall be compacted soil.
- Provide minimum 4”-6″ deep compacted class V or class II base. This depends on soil conditions. If soils are very poor a geotextile fabric may be necessary to separate the sub-base and the compacted class V or class II.
- Over base provide maximum of 1″ course washed sand bedding to make it easier to level the stone. Screed, sprinkle, until proper grade is reached.
Dry Laying the Stone
- Stone shall be laid in specified pattern.
- Color range should be uniformly distributed over total area of work.
- Position stone tight to one another by lowering stone vertically into position.
- Set stone by tapping with rubber mallet.
Joints
- Spread course dry sand over surface of stone and sweep into joints until completely full.
- Wet surface with fine spray.
- As an upgraded option to the course dry sand above, polymeric sand products may also be used. If so please follow the manufacturer installation recommendations.
Cleaning
Sweep surface of stone to remove loose sand and chips.